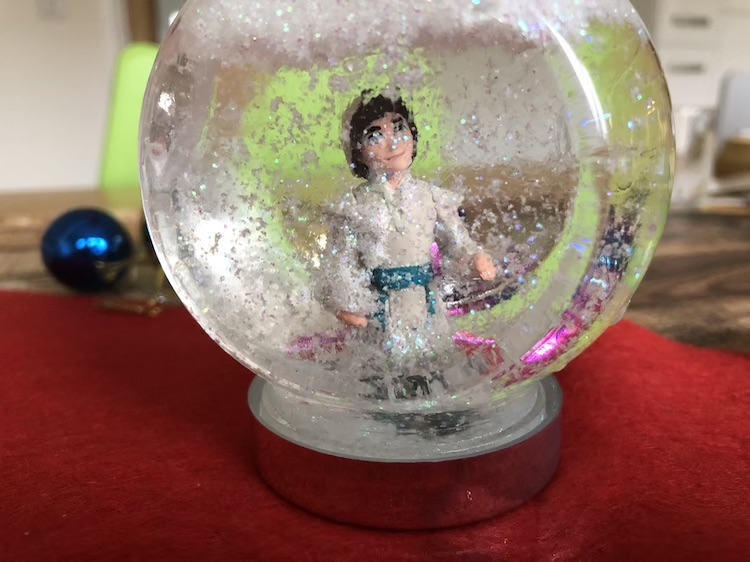
Today I’m sharing a really simple festive craft for kids, and showing how to make a snow globe that’s easy and cute.
I can’t stress how easy this snow globe tutorial is. It’s basically our ONLY successful Christmas craft project. They’re dead simple to make and we like to make personalised backdrops so the globes make cute presents for teachers and relatives.
What You’ll Need
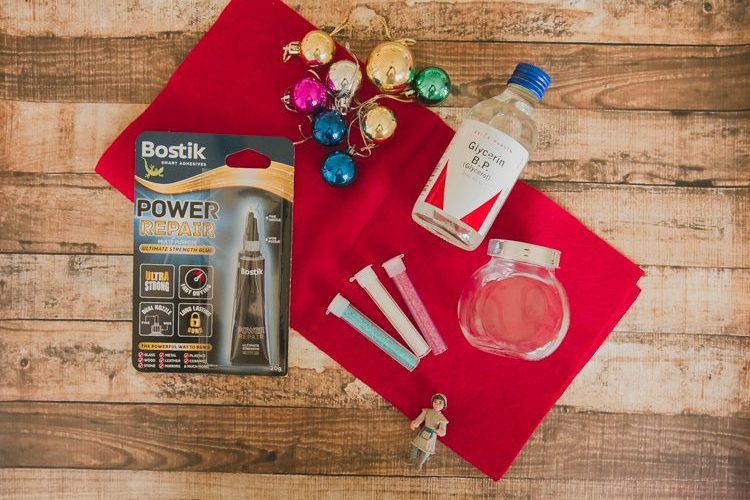
- A small round jar with a secure lid (we find these from Ikea to be ideal)
- A small festive figure that will fit into your jar
- A waterproof glue. Bostik Power Repair is ideal, because it’s clear, won’t stick hands together, and is waterproof
- A bottle of glycerine, widely available at chemists for a pound or two
How to make a Snow Globe
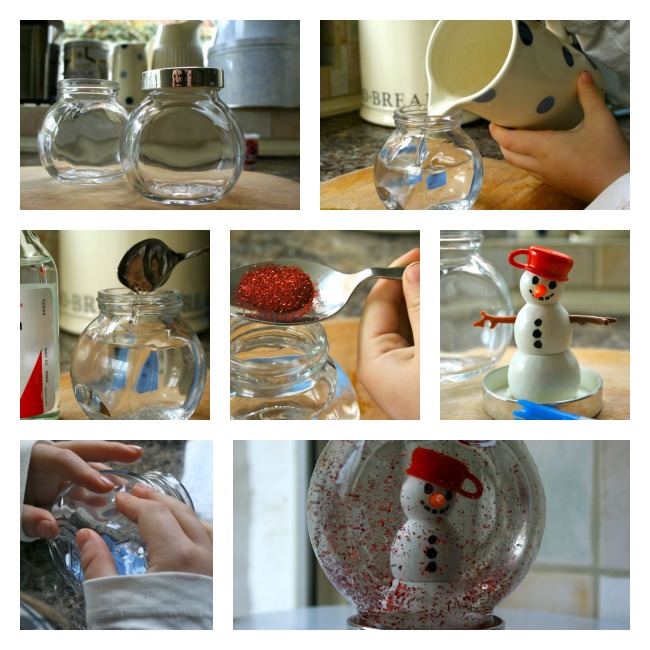
Make sure your jar has been thoroughly rinsed and left to dry.
As mentioned, we used these glass jars from Ikea, which are £1.90 for four. Bargain. But you could use Mason or similar jars, if you prefer. I like the Ikea jars because they have the added advantage of being rather small, so perfect for little hands to manage.
Before applying the glue to your lid, make sure the figure will (when turned upside down) fit through the opening to your jar. If it’s too wide or too tall, it’s better to find out now!
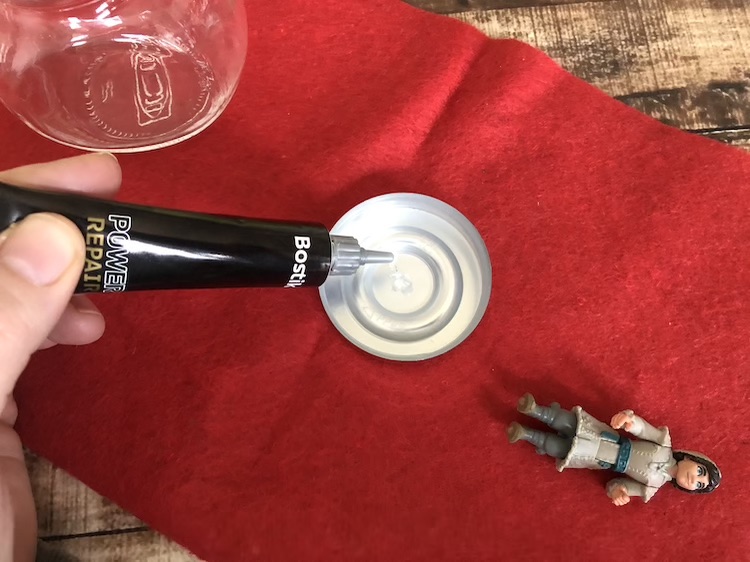
Remove the lid from your jar and use Bostik Power Repair to glue your chosen figure’s feet securely to the lid of the jar. To use Bostik Power Repair, simply put a small amount on lid and the figure’s feet, then press into place for ten seconds. Put aside to dry thoroughly.
This is a strong adhesive, so adults should take on this part of the project. It’s important that both surfaces are clean, dry and free of dust.
Decorating Time!
While your lid and figure are drying, it’s time to decorate.
For this we create a festive backdrop, and glue it to the outside of the jar. Use a layer of PVA to seal the label to the jar.
What you use as your backdrop is completely up to you. You might try a Christmas scene, some wrapping paper, some blue paper with white snow drops? Or personalise your snow globe with a cute family photo. It’s totally up to you.
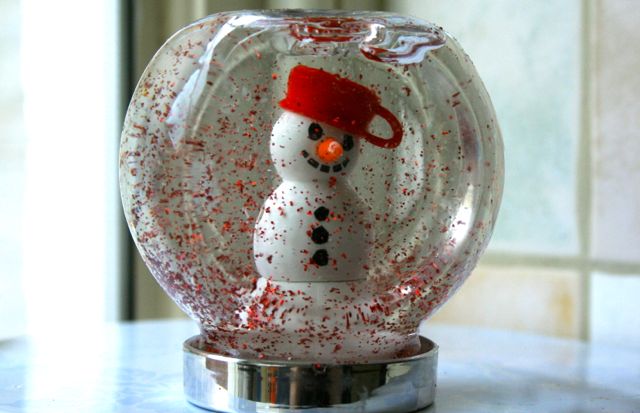
Once the image is sealed and dry, fill your snow globe jar almost to the top with water. You need to leave a little gap because your snow shaker won’t shake if it’s totally full.
Next, add a REALLY generous spoonful of glycerin. You can buy glycerine very cheaply at any high street chemist. You’ll find it with the cough remedies. It basically thickens up the water so that the “snow” doesn’t just fall straight to the bottom of the jar.
Now add your chosen glitter – confetti stars work well, but any glitter works – you only need a small amount though, about half a teaspoon full. Try and use glitter with larger ‘flakes’ as they’re less likely to clump together.
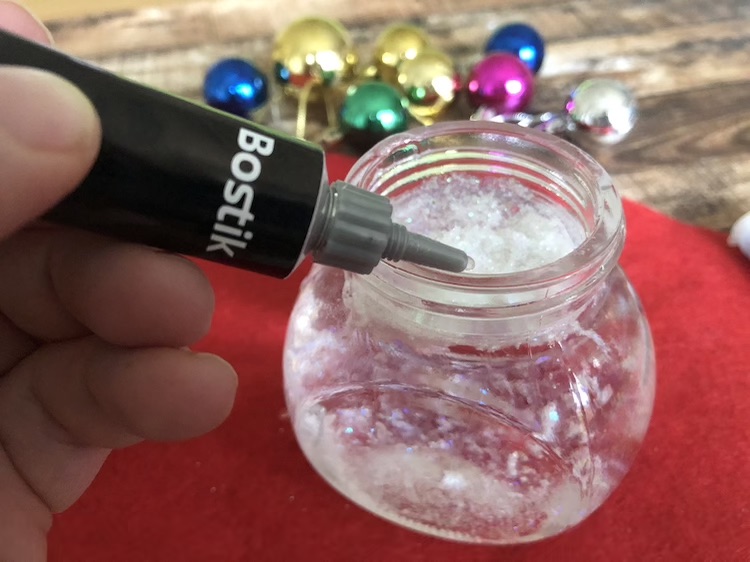
Now you need your snow globe jar lid, and figure. You need to turn it upside down and screw the lid back onto the jar. Obviously fasten it good and tight, but having an adult apply a lining of Bostik Power Repair will ensure your lid remains firmly closed and watertight.
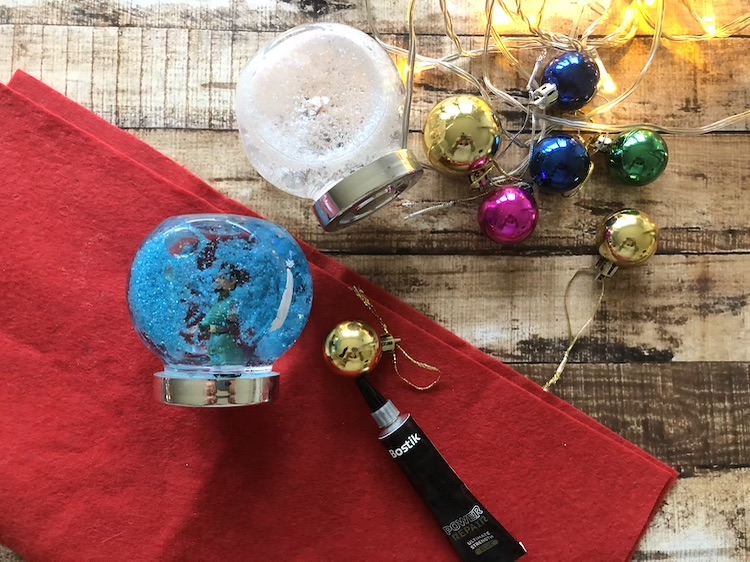
And what that you’re done – just shake to feel the festive magic of your snow globe!
We have made these DIY snow globes almost every year since Flea was very small. They also make a great craft for Beaver Scouts and younger cub scouts. You should give them a try!
That’s it! Let us know in the comments how you get on!

